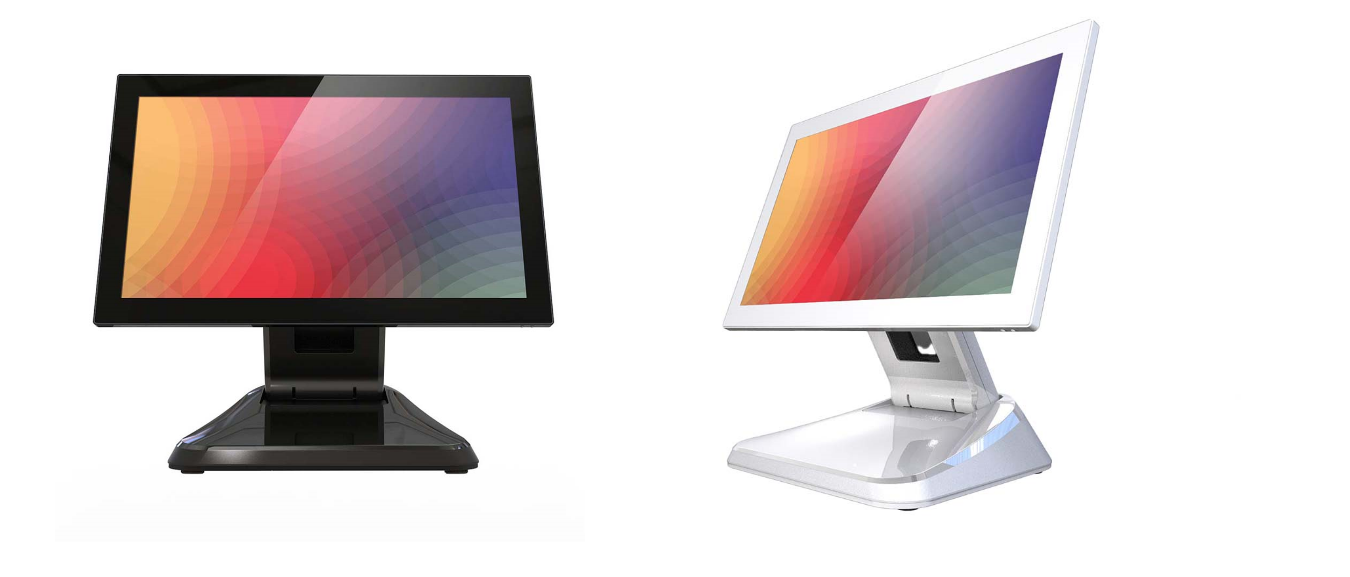
RMX POS Device
Available in black and white colors.
Cash Drawer:
Description:
Display: 15.6″ IPS LED Panel
Resolution: 1920 x 1080 (16:9 diagonal)
Touch Technology: 10 Point Capacitive
Android OS 9, Pie
CPU: Cortez A72 + A53, Six-Core 1.7GHz
Memory: 4GB RAM
Storage: 16GB eMMC
USB 2.0 x 5, USB 2.0 x 4, mini HDMI
RS-232 x 2 (in RJ45 connector form)
Ethernet 10/100/1000 Mbps LAN RJ45 x 1
Goes as a part of a bundle including:
Thermal Printer:
230mm/Second
- Ethernet
- Supports Two 24V DC Drawers
- w/Compulsion
- RAM: 64GB, Bitmap: 128KB,
- Flash: 512KB
- 203×180 Resolution
- 80x80mm Paper Roll
Cash Drawer:
24V DC Drawer
Related Articles
Android Compatibility with eHopper POS Hardware
1. All in One device T2s model: printers: inbuilt printer; Star Micronics TSP100 LAN, Star Micronics TSP100 Bluetooth, Star SP700 Impact Printer; BTP R-180 LAN; cash drawers: eHopper 16 Cash Drawer; APG Vasario; APG Vasarion 5 Slot; scanners: Socket ...RMX POS Device Software
1. Connect the device to a power source: 2. Connect the device to your router via an ethernet cable: 3. Power on the device using the power button at the bottom of the screen: 4. The device will start loading, and you POS app and other basic ...All-In-One POS Device with Customer Facing Display
Includes: Fully Compatible with eHopper POS Software Anbdroid 9.0 OS Display 15.6″+15.6″ Main screen: 15.6″ FHD, 1920×1080 Vice screen: 15.6″ FHD, 1920×1080 G+G capacitive multi-touchscreen Kryo-260 Octa-core up to 2.2GHz 3-4 GB RAM External ports: ...How to Disable OS Auto Updates on Android Tablets
Overview Android POS tablets are designed to run reliably during daily business operations. By default, Android devices automatically download and install operating system (OS) updates. While these updates are helpful for personal devices, they can ...Android Compatibility with eHopper POS Software
Recommended Devices: Sunmi T2 Sunmi T2s RMX POS devices Poynt Smart Terminal Poynt 5 Android tablets Android OS 12 Pax Elys L1400