How to Import Customers
Overview
You can import information on your existing customers into eHopper.
Instructions
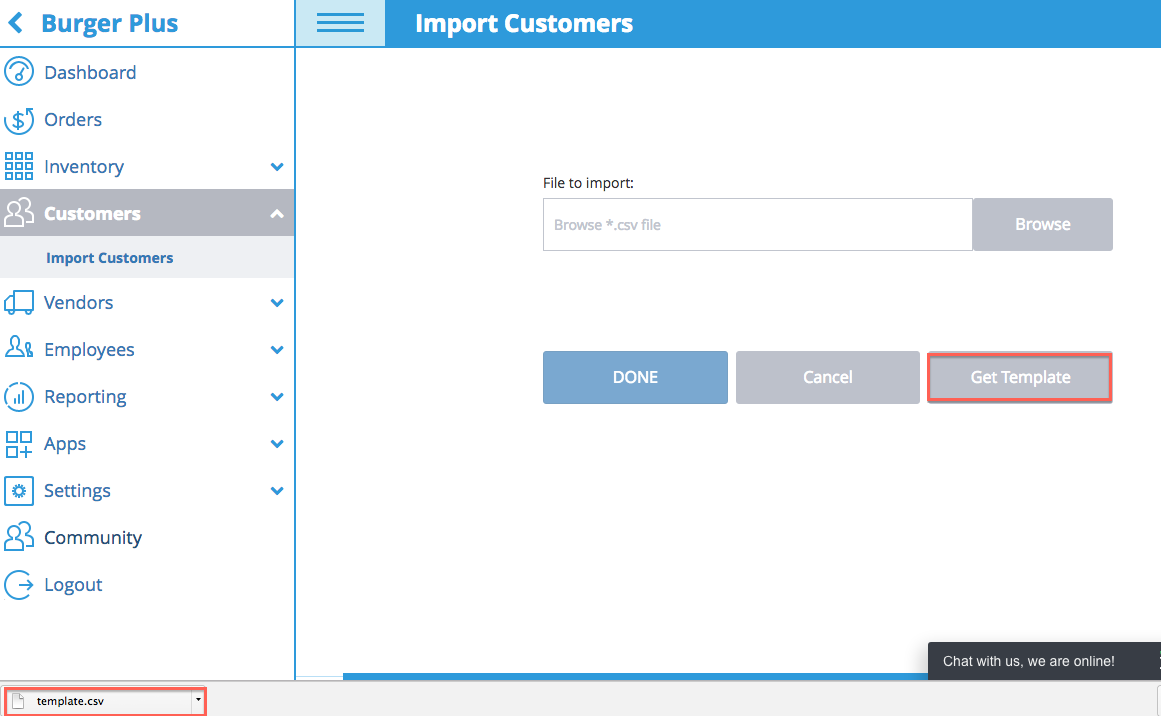
1. Go to Customers--->Import Customers--->Get Template button.
2. Open up the template download.
3. Delete or replace the 2 default rows in the template.
4. Fill-in all the required fields for each customer per row. The required fields are:
- Customer Type (with P inputted for a customer's personal information customer and B for a customer's business information).
- First Name: Required only for P customer types
- Last Name: Required only for P customer types
- Company Name: Required only for B customer types
Optional fields:
- Date of Birthday: Should be in MM/DD/YYYY format
- Tax Exempt: Enter Y if would like customer to be tax exempt and N if do not.
- Marketing: Enter Y if you want to send customer marketing and N if you do not.
- Store: Enter the name of the store that the customer visits (needs to be an existing store in eHopper).
- Sales Person: Enter the email address of the particular salesperson who deals with the customer.
5. Save the file.
6. Click Browse button--->select file--->click DONE button.
Related Articles
Viewing Customer List and Details in POS
Viewing Customer List 1. Tap the customer popup on the top of the screen. (By default, it will say Walk-In.) 2. The list of customers will appear and can be scrolled via the blue scroll on the right side. Viewing/Editing Customer Details ...Managing Customers in Back Office
Overview From Back Office, you can create, view, edit, delete, and export customers and their info. Viewing Your Customer List 1. In the left navigation menu, select Customers--->Customer List. 2. On this screen, you will be able to view your list ...Edit Customer's Current Loyalty Point Balance
Overview Note: This feature is only available with the OmniChannel plan or after installing the Loyalty app. If you would like to adjust a customer's current number of loyalty points, this can be done directly in their customer profile in Back ...Creating a New Customer in POS
Creating New Customer Before Order 1. Tap the customer popup on the top of the screen. (By default, it will say Walk-In.) 2. After opening the customer popup, select + New Customer. 3. On the New Customer screen, select whether you would like to ...Generate and Print Customer Codes on Loyalty Cards
Overview In the system, you can easily generate Customer Codes and then have them printed onto physical loyalty cards. When a customer enrolls in your loyalty program, hand them a loyalty card and quickly assign the customer code to that customer. ...