Terminal Setup on eHopper App for Windows
1. Log in to Back Office at bo.ehopper.com, go to Settings—>Apps—>App Directory—>install Credit/Debit POS integration App.
2. Go to Settings—>Store Settings.
3. Click Payment Gateway tab—>select the terminal you are using in Payment Gateway drop-down menu—>click Done.
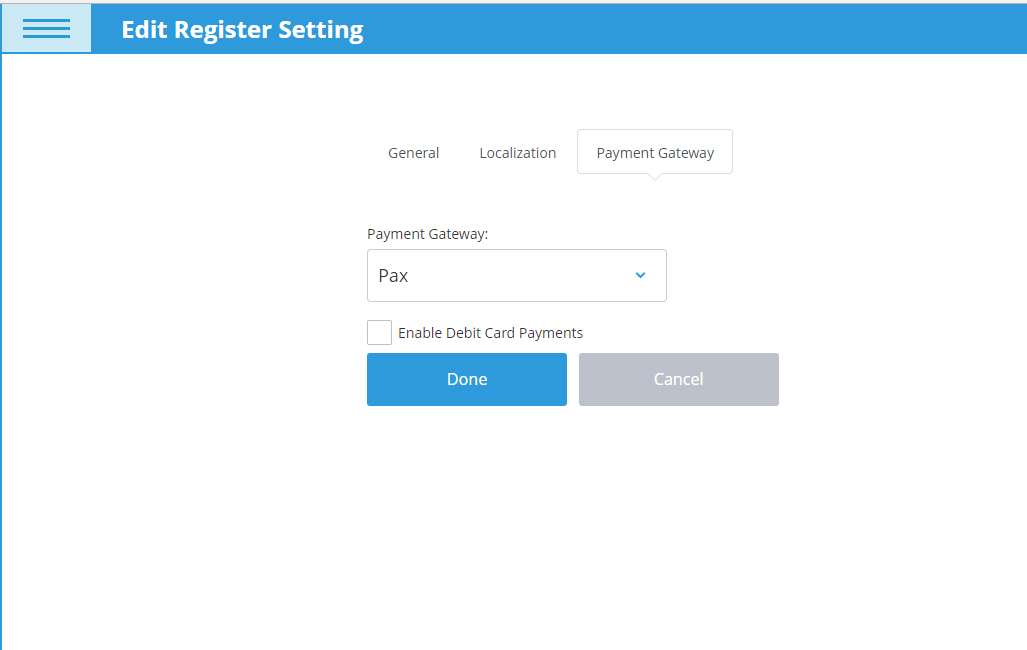
4. Login to POS and go to Settings—>Terminal Setup—>click Add Terminal button.
5. Input Serial Number of the terminal and click Submit.
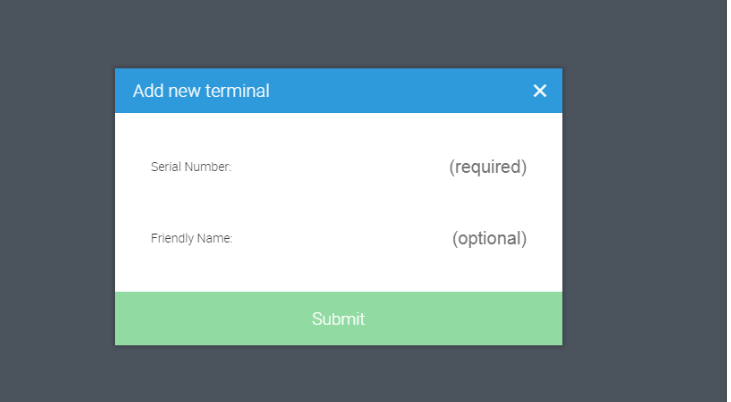
6. Click Done on the Terminal Setup screen.
7. Run a test transaction to check if it works.