Setting Up Control Number Hacienda for Puerto Rico
Overview
To set up integration with Puerto Rico Control Number:
- Set up your Dejavoo credit card terminal with enabled Hacienda Integration on iPOSpays. The required build number is 10172. Click here for instructions.
- Select Puerto Rico as store's country
- Add Puerto Rico City and State tax to store
- eHopper will request Control # for all transactions
Requirements
- Must be a Freedom Package customer.
Instructions
- Go to Store Settings → Payment tab
- Set the Payment Gateway to Dejavoo
- Make sure the store Country is set to Puerto Rico (PR)
- Check the "Enable Control Number" checkbox and save
5. Add Puerto Rico City and State Tax to Store
Go to Settings---->Tax Manager in the left navigation menu.
If it doesn't exist already, create a new tax by tapping the New Tax button on the top right of the screen. If you would like to select an existing tax, click on the tax you would like to add for Puerto Rico.
- Note: You cannot set up more than two taxes per store in Puerto Rico or you will not receive a control number for placed orders.
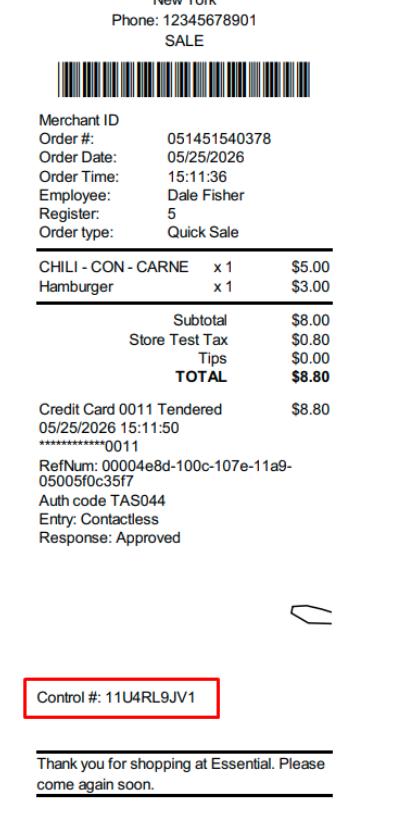
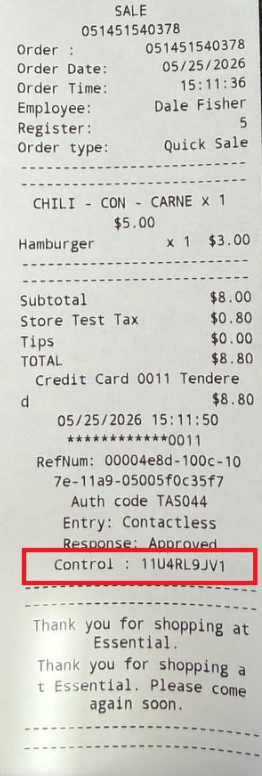
6. We receive a unique Control # (Hacienda number) from Dejavoo for each card transaction and display it on the receipt, in the order details, and within the transaction report.
A single order may contain multiple Control #s (Hacienda numbers), as a separate unique Control # is generated for each card transaction type, including credit card payments, debit payments, refunds, and voids.
Related Articles
App Directory
Installing an App 1. Go to Apps--->App Directory in left navigation menu. 2. Click on the app you want to install. 3. Click the Install button Uninstalling an App 1. Go to Apps--->App Directory in left navigation menu. 2. Click on the app you want to ...Table Management Setup in Back Office
Table Management Setup in Back Office 1. In the left navigation menu, go to Apps--->App Directory and then purchase the Table Management app. 2. In the left navigation menu, go to Apps--->Table Management 3. Select the checkbox next to the store(s) ...How to Reset Back Office Password
Overview If you cannot remember your password when logging in to Back Office at bo.ehopper.com, there are two ways to reset it: either through your email or your PIN #. Resetting Back Office Password Through Email 1. On the Back Office login ...Opening Back Office from POS
Requirements Must have an Administrator or Manager employee role. Instructions 1. Select Back Office in the left navigation menu. If using a Windows device, a separate browser window will open up. If using the eHopper POS app on an Android or iPad ...Loyalty Reporting in Back Office
Loyalty Report To access, select Reporting--->Loyalty Report in the left navigation menu. In the Loyalty Report, each date that at least one loyalty action occurred appears in a separate row. You can customize which columns you would like displayed ...