Coupons for Online Ordering Website
Overview
If you want to elevate your sales, you can use captivating discount pop-ups, coupon widgets, promo code displays, and coupon code promotions on your online ordering website.
Instructions
1. Log into your website.
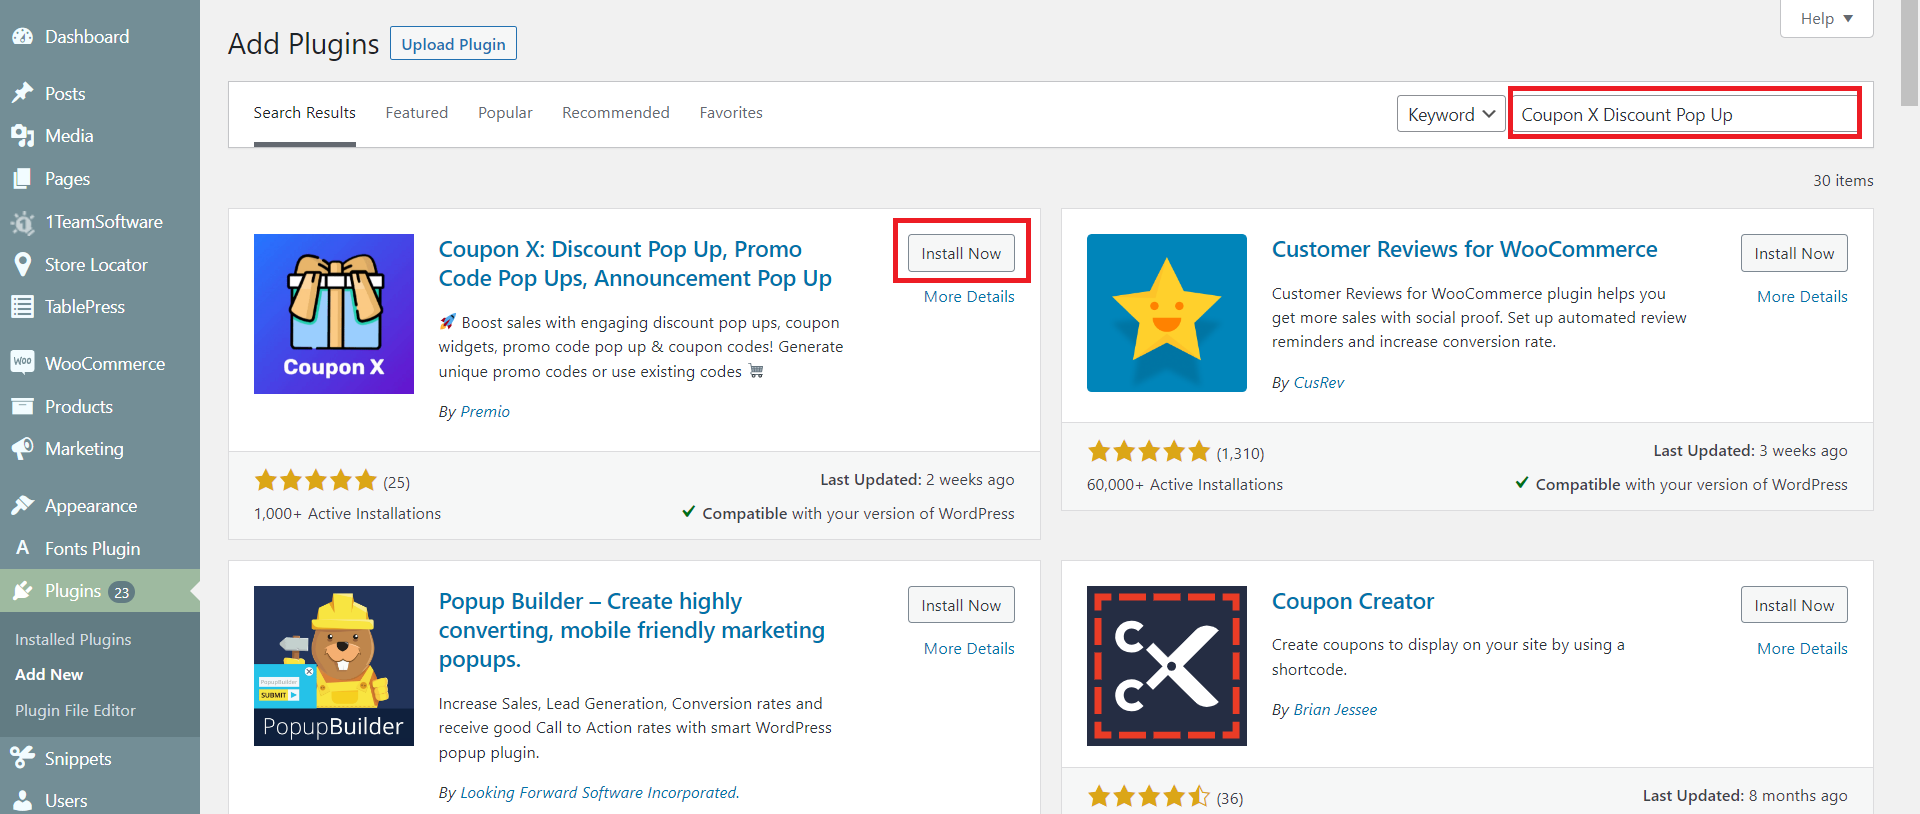
2. Go to Plugins > Add new > search for Coupon X Discount Pop Up > Install > Activate.
3. Go to Coupon X tab on your navigation menu > click Create New Widget.
4. Follow the steps provided to set up your widget:
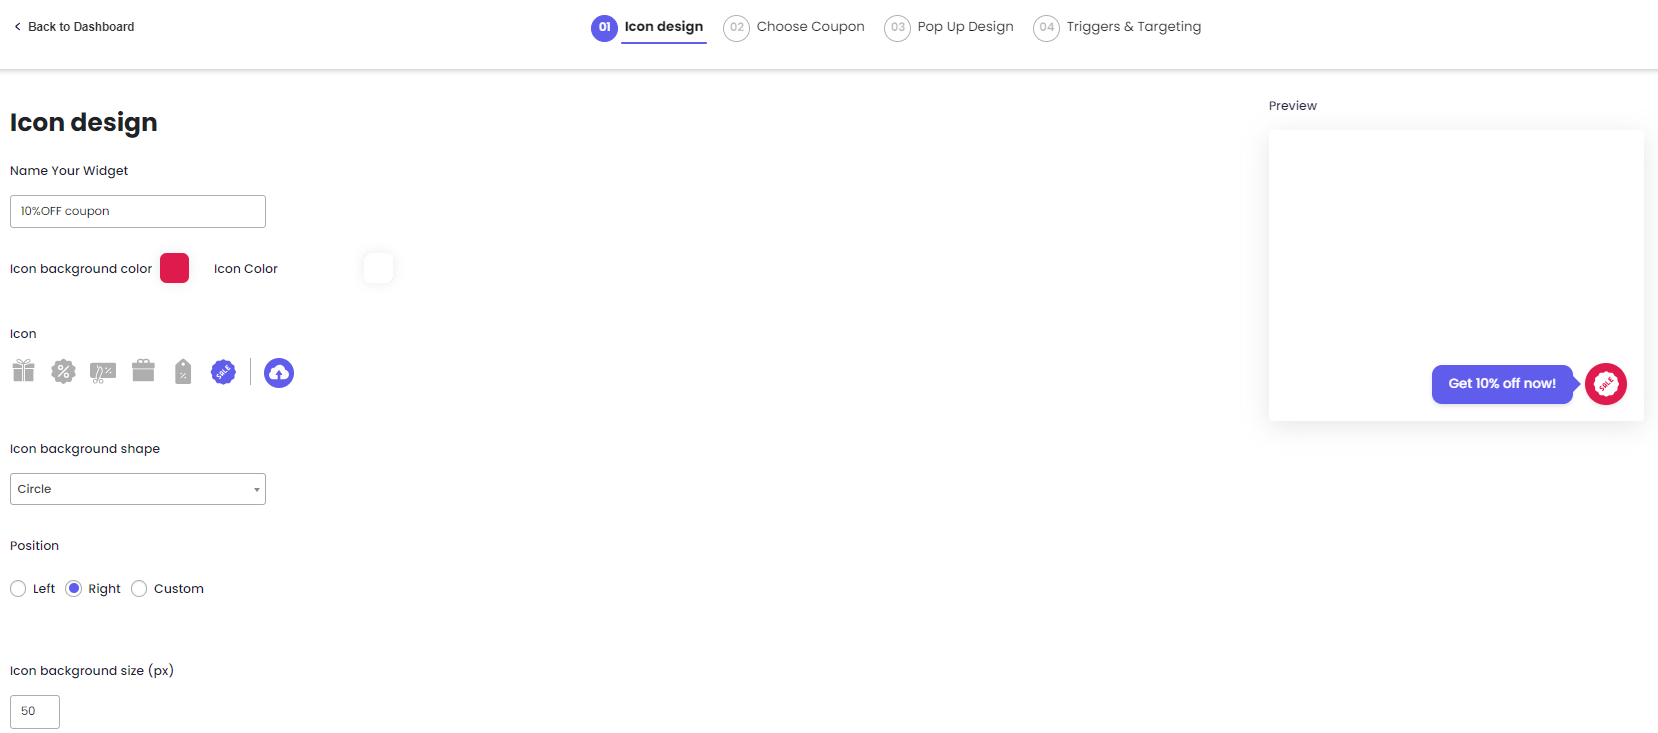
4.1 name your widget;
4.2 select icon design and position on a web page (preview is available);
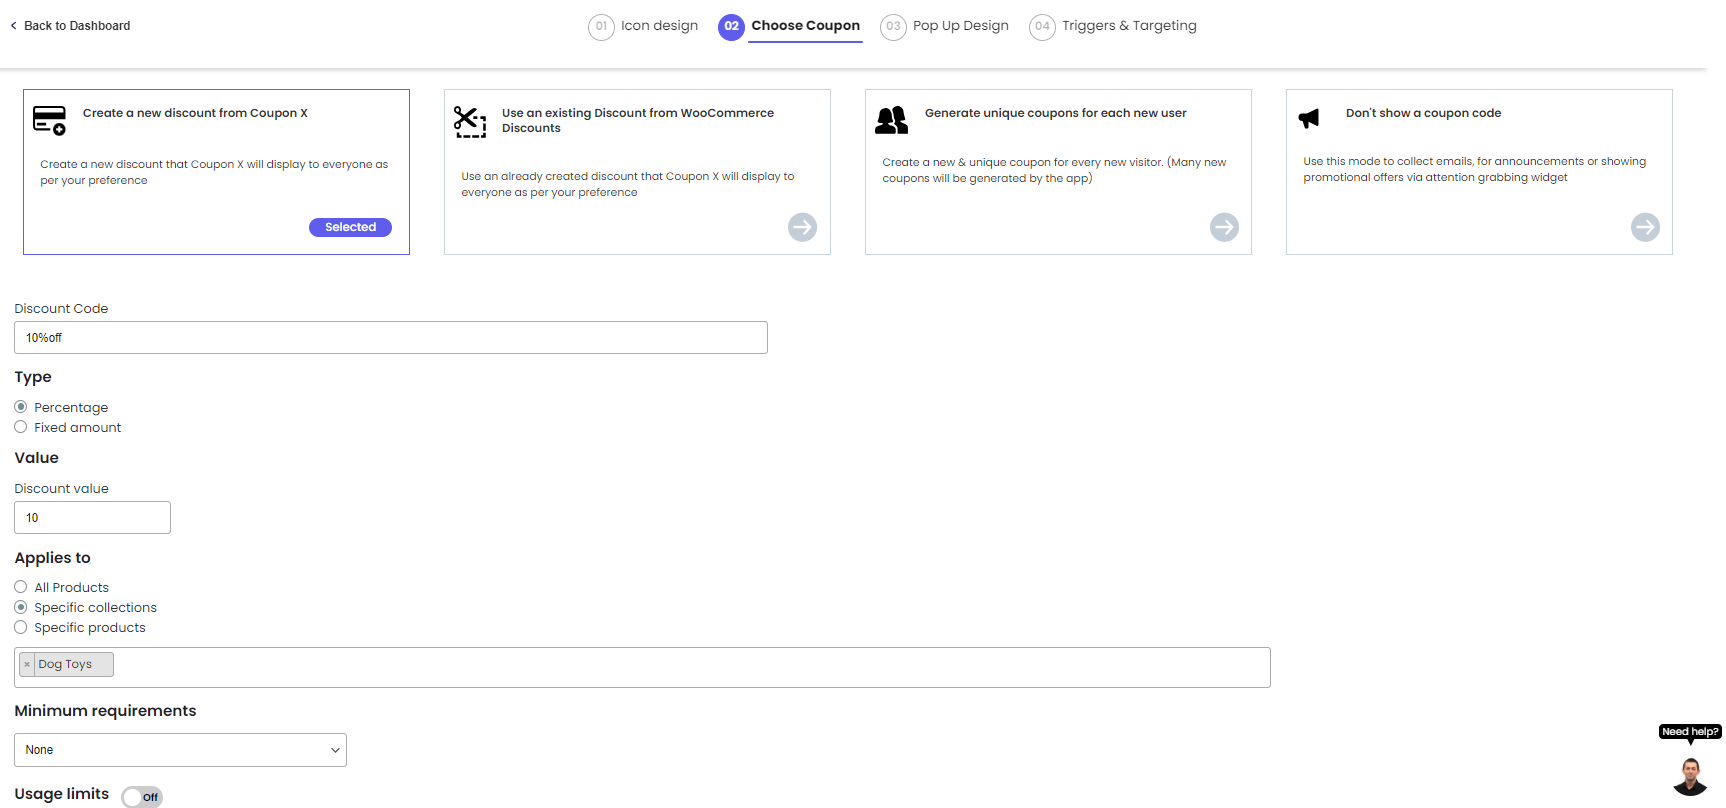
4.3 create a coupon and set up rules for its usage;
4.4 create design for a promo pop up (preview is available);
4.5 set up rules for triggers and targeting;
4.6 save your widget.
Now you can proceed with testing your coupons. You can copy the coupon code from the pop up at the bottom of the screen, and paste it to the corresponding field on the checkout screen:
Related Articles
eCommerce and Online Ordering Integration
Table of Contents Overview Syncing POS with Ecommerce Syncing POS Products with Ecommerce Syncing POS Transactions and Stock Quantity with Ecommerce Syncing POS Taxes with Ecommerce Auto-printing of Kitchen Receipts for Online Orders Overview For an ...WooCommerce Integration
To connect an existing WooCommerce website to your eHopper account, please follow the steps below: 1. Go to your Back Office > Apps > App Directory > find WooCommerce app > click Install. 2. Install WordPress version 6.4.3. 3. Install and activate ...Tools for Email/SMS Marketing Campaigns
Overview Instructions 1. Log into your website. 2. Go to Plugins > Add new > search for Klaviyo plugin > Install > Activate. 3. Go to Marketing tab on your website navigation menu > select Klaviyo > click Create account. *In case you already have a ...Set Up Auto-printing of Kitchen Receipts for Online Orders
Overview Save time and manual work by having eHopper automatically print kitchen receipts to your kitchen printer(s) as soon as online orders come in. Prerequisites Must have eCommerce app from the App Directory installed, or have created/upgraded to ...Setting Up QuickBooks with eHopper
Overview eHopper POS is integrated with QuickBooks Online. This allows users to automatically synchronize their sales, inventory, and revenue data with your QuickBooks Plus account, eliminating the need for users to manually input data from eHopper ...